
What is Session recording?
Session recording (or session replay) is the exact replay of a visitors’ interactions (e.g. clicks, mouse movements, form fills) on your website. Capturly will record all of these so that you can replay and analyze them later on in order to optimize your website and avoid future bottlenecks in your conversion funnel. Exploring how visitors interact with your website can give you valuable information to prevent problems, that may occur in the future.
How can I use Capturly’s Session recording feature?
After installing a small piece of code into your site, you have access to Capturly’s features including session recordings. Session recordings are generated automatically from your past visitor data, right after the tracking code is installed on your website.
After you have installed Capturly’s tracking code on your website, all you have to do is follow these steps:
STEP 1 Log in to your Capturly accountSTEP 2 Select the website you wish to check the recordings of
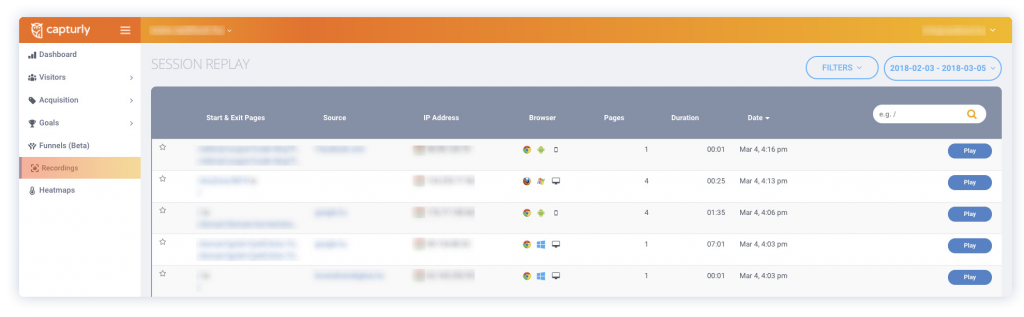
STEP 3 Select Recordings from the left menu
STEP 4 Select a page from the table and click on the corresponding Play button on the right.
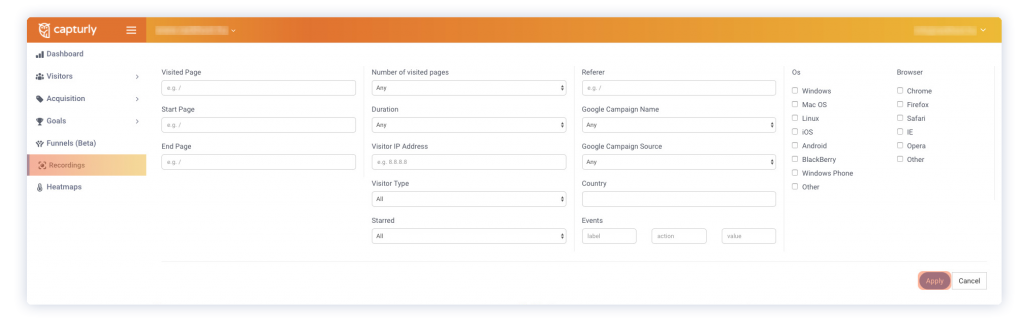
Why I can’t see the full IP address of my visitors?
At Capturly, we honor the privacy of our users and operate in a manner compliant with GDPR and CCPA. Therefore, the IP addresses of tracked visitors are always suppressed before being stored. In the case of IPv4 addresses, we set the last octet to zeroes, while in the case of IPv6 addresses, we set the last 80 bits to zeroes.
How to add custom tags to my session replays?
With Capturly’s tagging feature, you can mark specific recordings. This way you can categorize and filter replays with ease.
To apply a tag to a session recording all you have to do is simply follow these steps:
STEP 1 Log into your Capturly account STEP 2 Go to RecordingsSTEP 3 Play a recording and mark it by clicking on the Add new tag
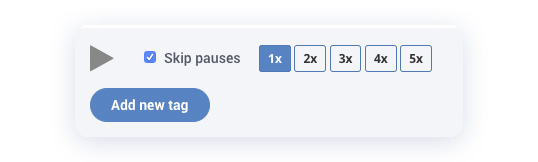
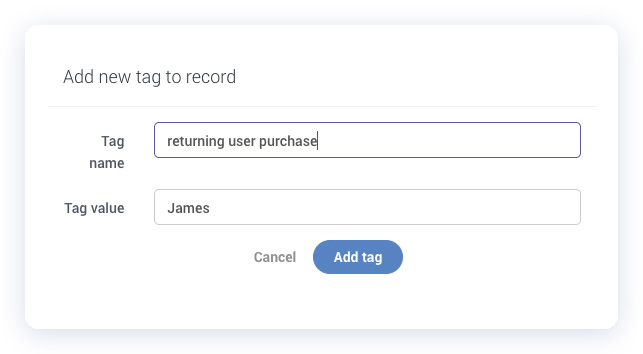
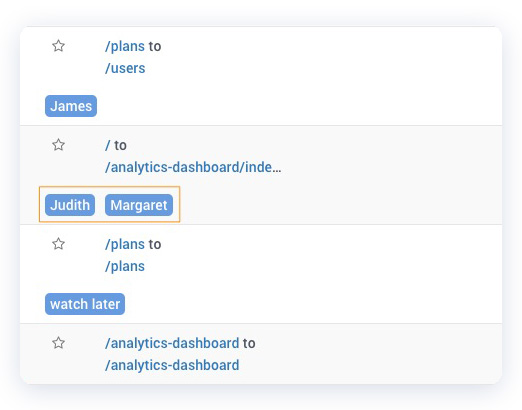
Once added, the tag value will appear next to the Add new tag button on the session replay panel. Once the panel is closed the custom tag will be visible on the list also.
How to delete my tags?
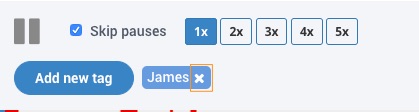
You may add as many tags as you want and to remove a tag all you have to do is simply click on the small ‘x’ marked on the image above.
What is the Advanced Masking feature in Capturly?
The advanced masking feature in Capturly is designed to protect user privacy by default. It automatically hides the contents of input fields on a website. This is particularly important for safeguarding sensitive information. However, there are instances where you might want to disable this feature, such as when you want to record interactions with search bars or filters.
How to use the Advanced Masking feature?
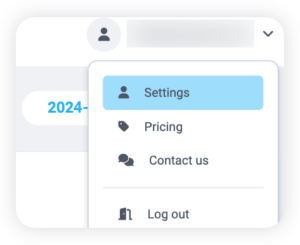
STEP 1 Log into your Capturly account.STEP 2 In the top menu bar, click on the profile and select the Settings option.
STEP 3 In the left-hand menu, under Website settings, click on the name of the website you want to edit.
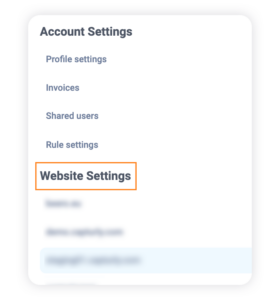
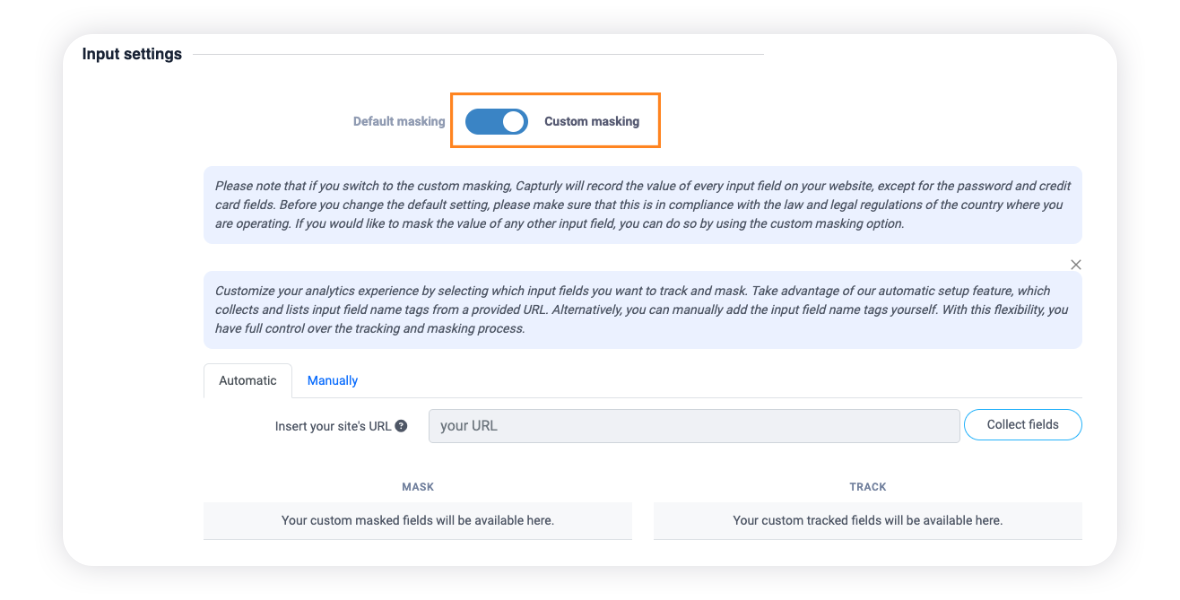
STEP 4 Navigate to the Input settings section, then switch the toggle from Default masking to Custom masking. With this step, text entered in all input fields will appear in the recordings, except for passwords and credit card data.
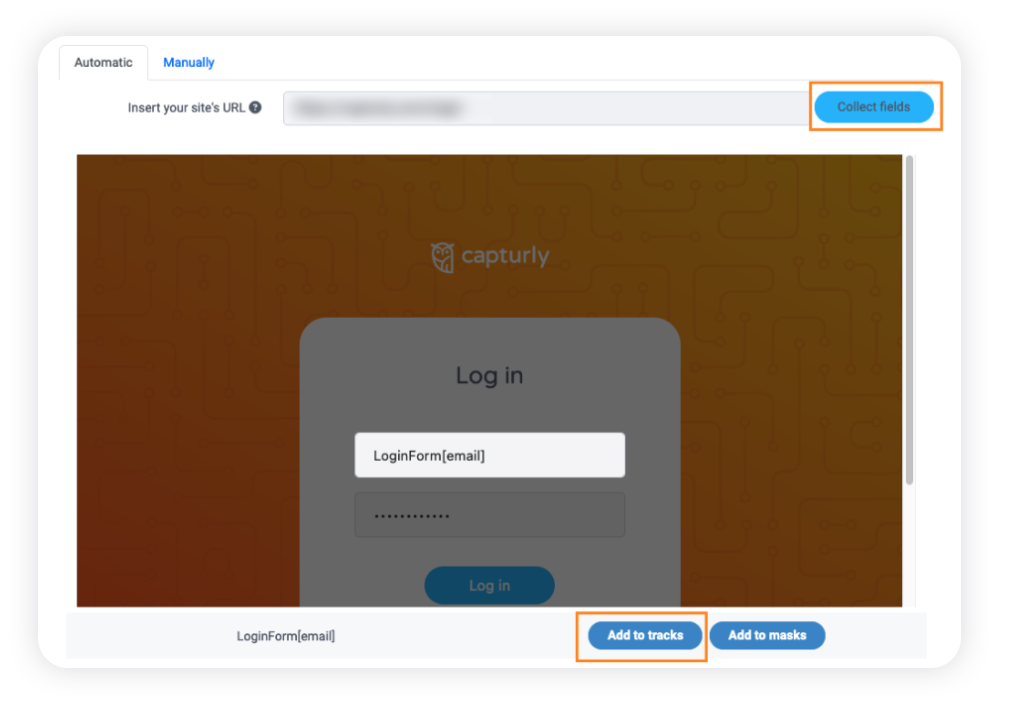
STEP 5 Enter the URLs of the pages with the input fields you want to check, and press the Collect fields button. You can then choose specific input fields to track by clicking Add to tracks. This action will enable Capturly to automatically tag the recordings, and these tags will be visible both in the recordings list and during playback.
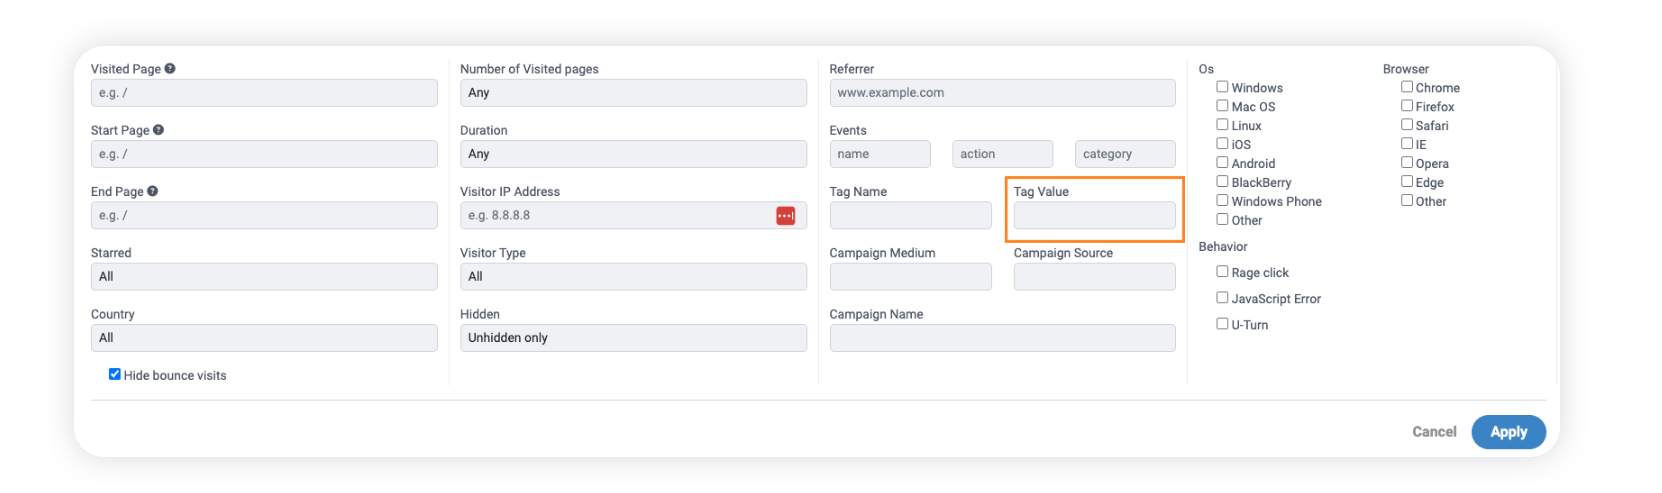
+ 1 It is possible to filter the recordings based on the automatically added tags. For example, if playback of a specific customer’s session is needed, then in the Recordings menu, by choosing the Filters option, it is necessary to specify the customer’s email address, order number, etc.
How does Capturly distribute my recordings in a month?
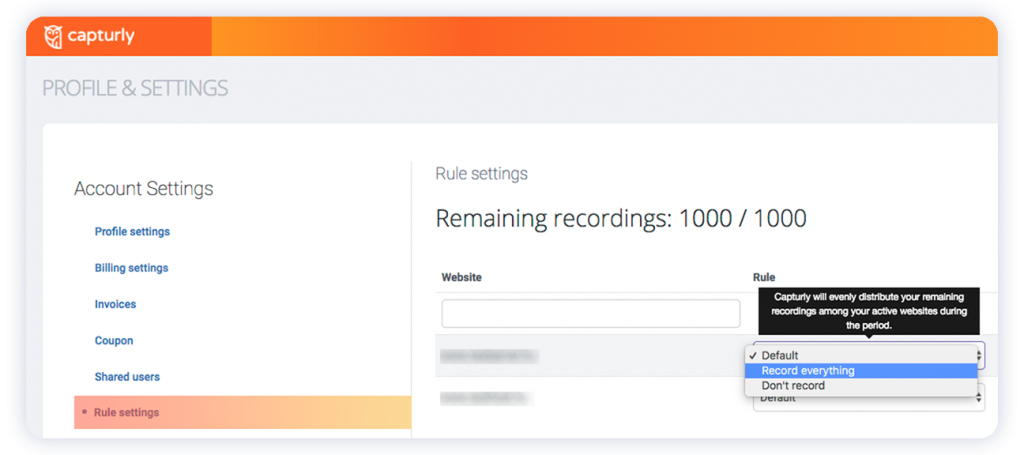
By Default, Capturly will distribute your recordings evenly between your websites and visitors during a month. Rule settings can be changed according to your preference from the Rule settings menu.
What are Rule settings?
With Rule settings, you have the opportunity to choose the way Capturly manages your recordings. You have access to the following recording methods:
- Default – Capturly will distribute your recordings evenly between your websites
- Record everything – With this option enabled Capturly will record every traffic on your website
- Don’t record – This will turn your recordings off
How can I change Rule settings?
To access this feature, all you have to do is follow the steps below:
STEP 1 Log into your Capturly accountSTEP 2 Click on your profile on the top right section of the screen and choose Settings
pick Rule settings from the left menu
In case you wish to record everything on a specific website:
STEP 4 Click on the purple Edit button on the right
STEP 5 Under Preferred rule menu select Record everything option
STEP 6 After you click on the Save button, Capturly starts to record every action on that website.
If you don’t want to have recordings enabled for one or more websites, you can simply choose the Don’t record option from the dropdown menu under Preferred rule .
How to record every visitor on my website?
By Default, Capturly will distribute your recordings evenly between your websites. To record everything on your website follow these steps:
STEP 1 Log into your Capturly account
STEP 2 Go to Settings and choose Rule settings from the left menu
STEP 3 Click on the Edit button on the right
STEP 4 Select the Record everything option from the corresponding dropdown menu of the website